How to Make Reaction Roles on Discord
Reaction roles are a great way to help your server members quickly select roles that are relevant to their interests. This feature has the potential to increase server member attachment and engagement. In this guide, we'll show you how to make reaction roles, as well as how to setup more modern role assignment options using buttons and dropdown menus.
How to Make Reaction Roles
We're going to use the Atlas bot for creating reaction roles. We chose this bot because it is extremely well made, packed with features, and it supports reaction roles, dropdown roles, and button roles. Assigning roles often relies on emoji reactions on a message, although this method may be considered a bit outdated. Here's how to create reaction roles using the Atlas bot.
Add the Atlas bot to your server
You can add the Atlas bot to your server from the Atlas bot website. Click the get started button, sign in to your Discord account, then choose a server to add the bot to.
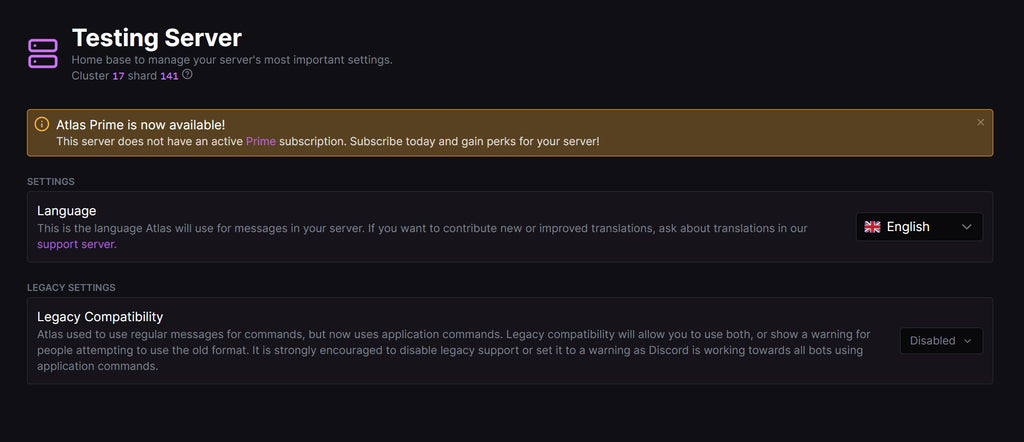
Once you've added Atlas to a server, you'll need to run the basic setup from the atlas dashboard. Choose a language or keep your server's default. For legacy compatibility, leave it to disabled. Lastly, within Discord, go to server settings, then roles. Make sure the Atlas role is above any roles you want Atlas to be able to assign. This is required for the auto roles feature to function.
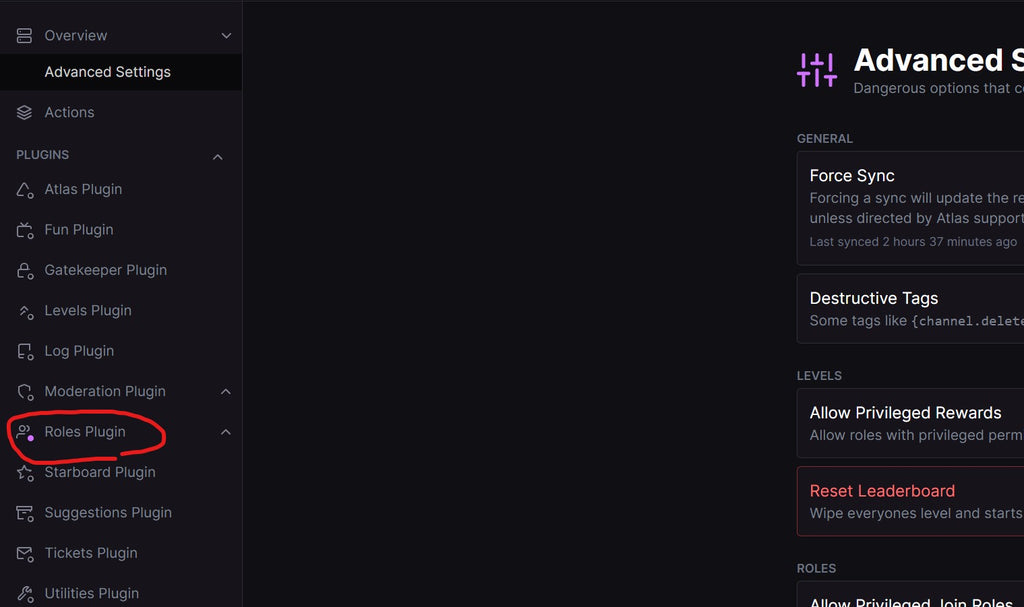
Configure Reaction Roles
Next, select roles plugin from the menu on the left side of the page. Enable the roles plugin.
On the roles plugin page, you'll see two buttons as highlighted in the image below. These buttons change the following setting to be either a blacklist or a whitelist.
- Blacklist: Can add roles in all channels except the ones selected.
- Whitelist: No channels can add roles except the ones selected.
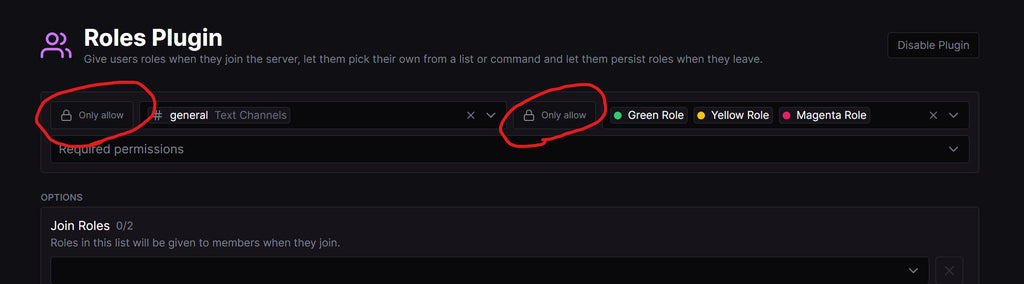
We have chosen whitelist because it makes it easier to understand. For whitelist, each button should say "Only allow". In the first dropdown menu (where it says #general in the image above) select the channels that you want users to assign themselves roles in.
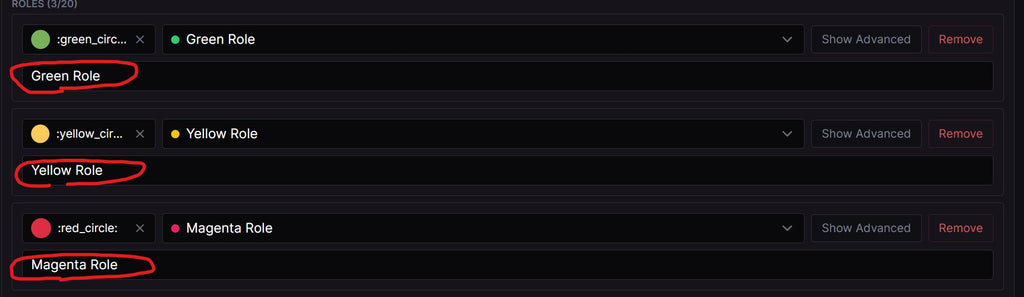
In the second dropdown menu (where it shows Green Role, Yellow Role, Magenta Role in the above image) you'll select the roles that you want the bot to be able to assign.
Auto Roles
On the menu on the left side of the page, select the Auto Roles page.
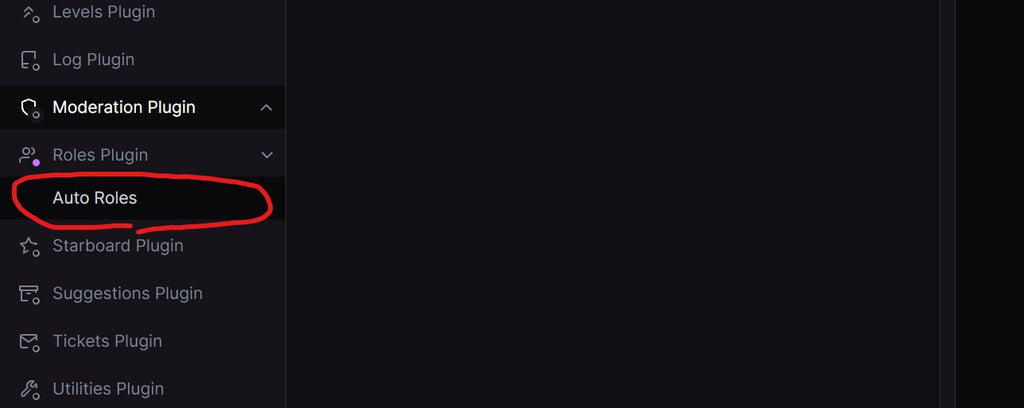
On the auto roles page, click the new group button.

Choose a channel where you want the reaction roles message to be placed.

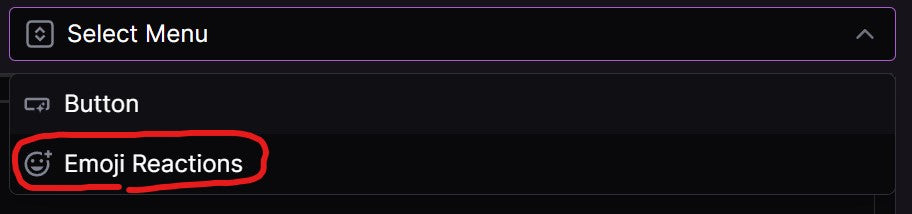
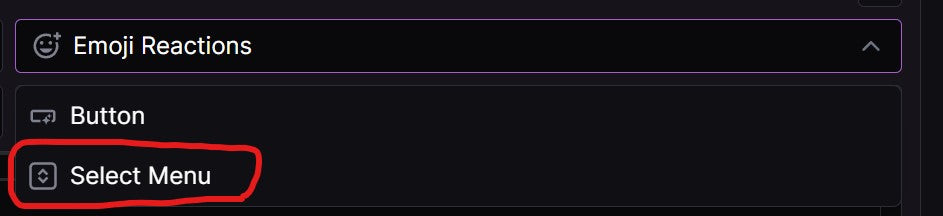
Next, where it says "Select menu" click the dropdown and choose "Emoji reactions".
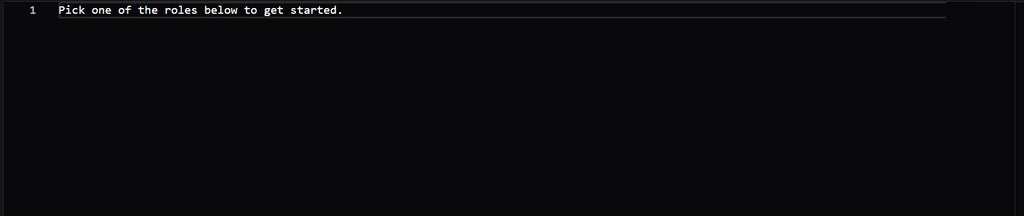
You can choose what you want the message to say in the code box below. You can use formatting options here such as headings.
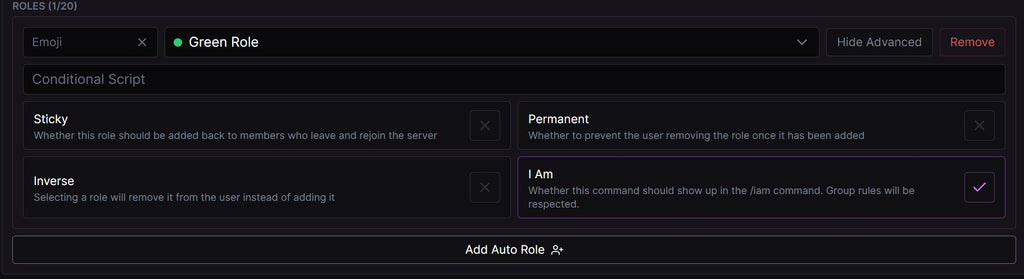
Next, click the add auto role button to add your first role.

Fill out these settings. The emoji is the reaction that will apply the role. The conditional script is an advanced feature that you most likely will not need, however, you can find more information about it from the Atlas documentation. The other settings are largely self explanatory. Repeat this process for as many roles as you want to add to the message. Click the save changes button on the bottom of the page when you're done!
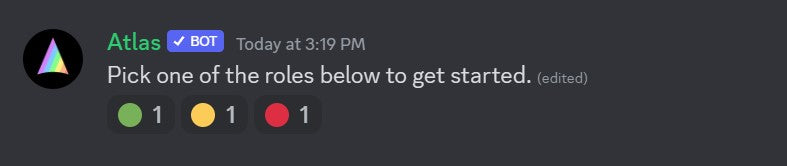
A new message should appear in the channel you selected. It should look something like this. You can now click any of the reactions to apply that role! You've successfully added reaction roles. Next we'll cover some more advanced and modern ways of applying auto roles using the Atlas bot.
How to Make Dropdown Roles
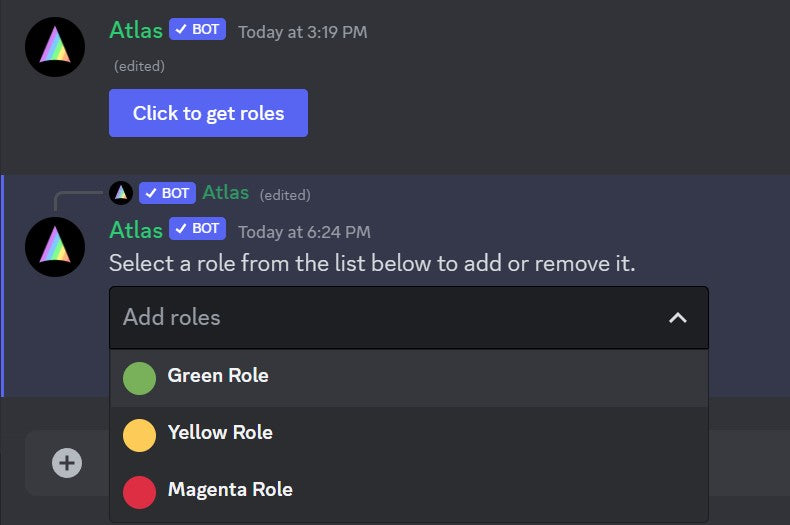
Many bots don't support this newer method of role assignment, but the Atlas bot does. Now that you've done the setup for reaction roles, it's extremely easy to change it to a dropdown role. Simply select the "emoji reactions" button and choose "select menu" from the list and click save changes at the bottom of the page.
After waiting a few seconds, the Atlas bot should automatically update the message to use a dropdown select menu instead of reactions.
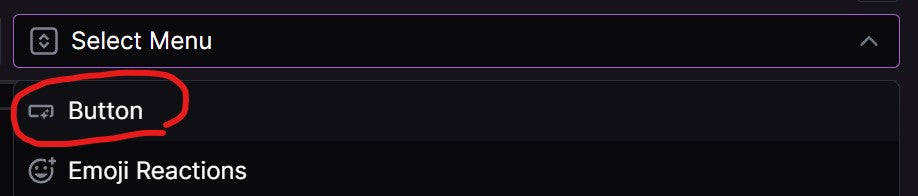
How to Make Button Roles
The third method which is also a newer and more professional method to assign roles is to use buttons. Buttons are much better because they can also have text instead of only a vague and ambiguous emoji. To enable button auto roles, select "button" from the dropdown menu, then click save changes at the bottom of the page.
The only other setting you need to modify for button roles are the text of each button, and the emoji associated with each button. These settings are highlighted in the image below.
The message should automatically update within a few seconds. Now, each button can show text to make it clear exactly what it will do when the user clicks it!

Congratulations, you've now setup a modern auto assigning roles system on your Discord server! We hope this tutorial has been helpful to you. Thanks for reading, and be sure to check out our art for Discord servers!