A Discord server is an online community hub where members can communicate through text and voice channels. Discord servers provide a great platform for connecting and engaging with others. We've created a comprehensive guide for every feature you will need to know to make an amazing Discord server. This guide goes way beyond basic server setup and covers advanced server topics as well.
Basic Server Creation
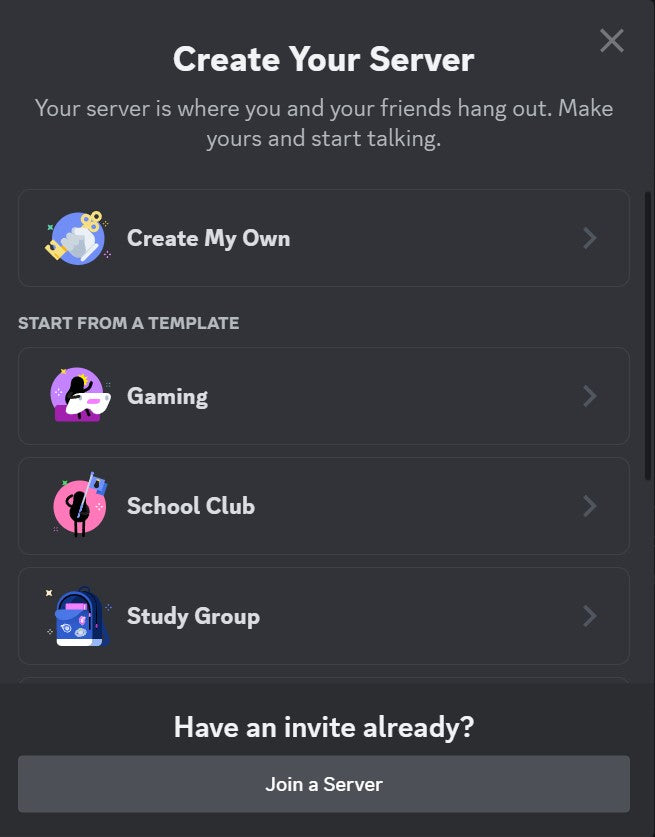
To create your own Discord server, click the plus symbol button on the far left side of the Discord interface below all the other servers you're currently in.

Choose "Create My Own" when prompted to create a server. Server templates are available with default configurations to match server types, including preset channel and category structures. We'll cover server templates later on.
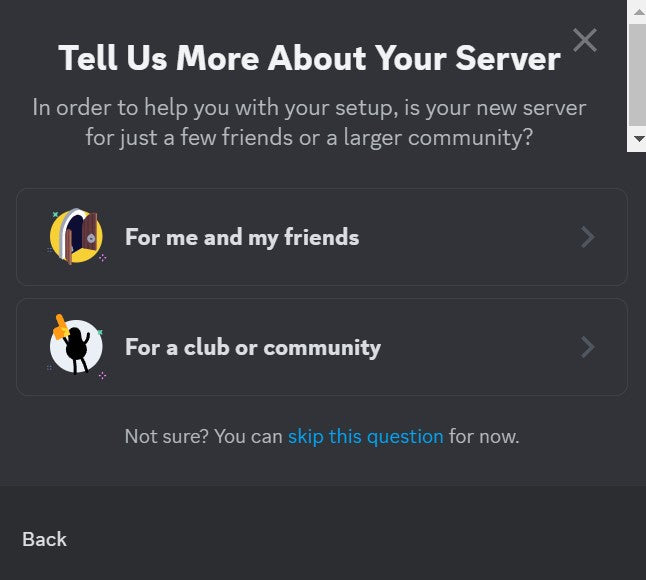
Next, you'll see two options: "For me and my friends" and "For a club or community". If you only need a simple private server for you and your friends, you can click the first option. For this guide, we'll be creating a complex full featured server, so you can select "For a club or community".
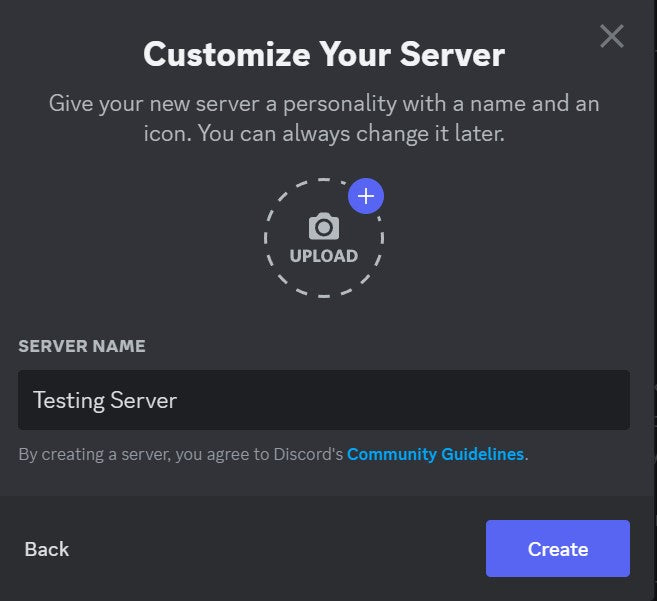
Next, you'll see some options for customizing your server. The server name, which is the name your server will be known by, and a server icon. The server icon should be a 512x512 pixels image, and it can be a PNG, JPEG, or GIF file.
Server Icon
The server icon represents your server, and it's the first thing potential server members will see. If you're interested in getting a top quality server icon, including animated server icons, be sure to check out our server icon maker!
Discord Server Icon Maker
Interested in getting a high quality Discord server icon with your custom text added? Check out our icon maker with over 40 designs to choose from!
Server Icon MakerClick "Create". Discord will create a basic server for you with a structure like this:

Server Structure
The basic structure of Discord servers is channels inside categories. Channels can come in various forms, mostly text, but also voice, which allows members to have discussions related to the channel topic. You can create categories to group multiple related channels together. In the default server you created, you'll see two channels inside two categories. The categories are "Text channels" and "Voice channels".
Creating Categories
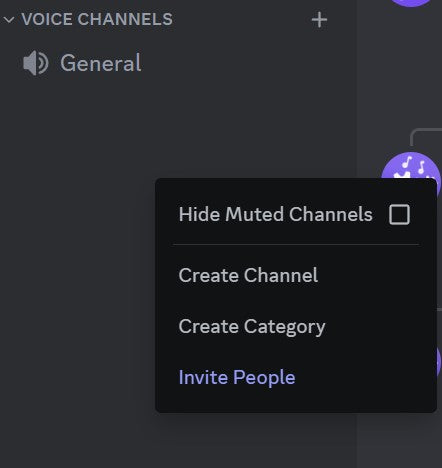
To create a new category, right-click anywhere in the channels list, then select "Create Category".
Creating Channels

To create a new channel, click the plus symbol next to a category name to create it inside that category. To create a channel that isn't in any category, right-click anywhere in the channel list and select "Create Channel".

There are two main channel types: voice and text. These channel types are self explanatory. You can choose a channel name, and optionally, you can make it a private channel if you only want certain members to be able to access it. To enhance your channels, you can optionally include an emoji as a makeshift icon before the channel name. You can also do the same with category names. Go ahead and create the channels and categories you need for your server.
Rules Channel
It's common for servers to have a rules channel that lists some common rules for the server. Keep it short and simple because most people won't read more than a tiny amount of text.
How to Make Your Text Channels Look Better
To make your Discord server look better, there are many text formatting options and tricks you can use. These tricks are great for informational channels like rules channels. We've compiled a list of all text formatting options in Discord that you can check out.
Server Templates
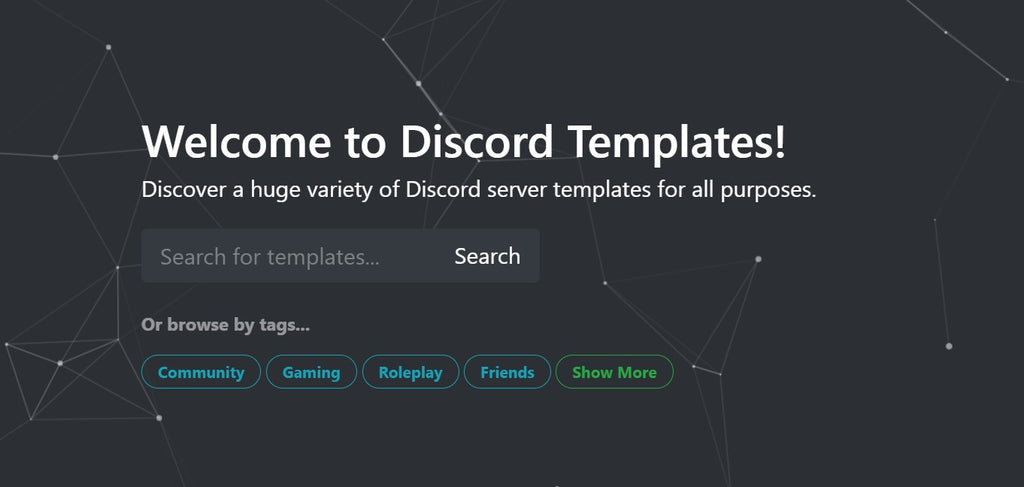
If you don't want to make everything from scratch, you can use a server template. Server templates are just pre-made server settings and channel/category structures designed to fit a general type of server. Check out the Discord Templates website to find a bunch of pre-made server templates!
Roles and Permissions
Now that we've created our basic category and channel structure, let's move on to roles and permissions. This is the second fundamental part of any Discord server. Roles allow you to give different permissions to different members. Roles can be used to appoint moderators. Roles can have unique name colors, and can even have special icons added next to the member's name with the role.
Creating Roles
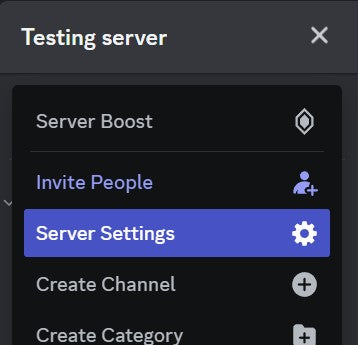
To create roles, start by clicking your server name above the channels list. Then, select "Server Settings".
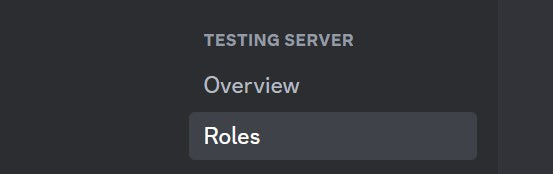
Next, select "Roles" from the menu on the left side of the server settings page.
On this page, you'll see a "Create Role" button. Click it to create your first role.
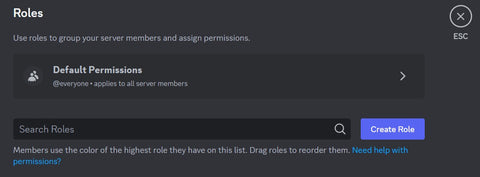
Now you can create a role. Each role has permissions controlling what the role can and cannot do within your server. Each role can have a name color, and you can choose to display it separately from other members in the member list to make the role stand out.
Permissions
Permissions allow you to control what each user can and cannot do within your server and within certain channels or categories. The definition of permissions is as follows, where specific permissions take precedence over general ones.
Role Permissions
The most general permissions are role permissions. These are defined when you create a new role. For example, you can allow moderators to delete messages with the "Manage Messages" permission.
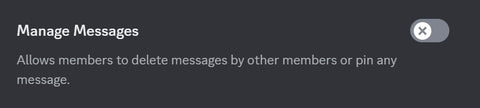
Everyone assigned to this role will be able to delete messages by other members or pin messages. But, you might not want them to be able to delete messages everywhere. This is where more specific permissions are useful.
Category Permissions
Now that you've added the "Manage Messages" permission to a role, you probably don't want that role to be able to delete important informational messages in your rules channel or your welcome channel. As an example, both of these channels could be inside of a category called "Information". If you right-click this category, click "Edit Category", then "Permissions", you can override the role permissions within this specific category.
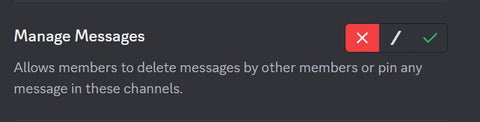
If you were to click the red "X" on the left side of the permission, it would override the role's default permission specifically within this category by denying that permission. If you were to click the green checkmark, it would override the role's default permission to allow that permission.
Channel Permissions
You can create similar permission overrides specifically within a single channel. Right-click a channel, click "Edit Channel" then click "Permissions". You can override even the category permissions for a specific channel. Through this tiered overriding permission system, you can create very fine-tuned control of your server to various roles.
Role Icons
![]()
To add maximum flare to your server, you can optionally add role icons that sit next to your role names. They look great and make your server appear more professional. Role icons should be 64x64 pixel images. Be sure to check out our massive role icons pack if you want some premade role icons!
Bots/Apps

In a Discord server, bots, also known as apps, are automated programs designed to perform a variety of tasks to enhance server functionality and user experience. They can manage server operations, moderate conversations, provide entertainment, and integrate with external services. Bots can welcome new members, enforce rules, filter content, run games, stream music in voice channels, and much more. Bots are an essential part of a high quality Discord server.
How to Add Bots/Apps
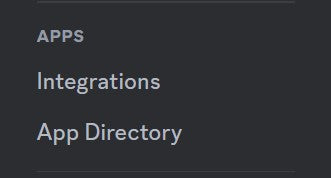
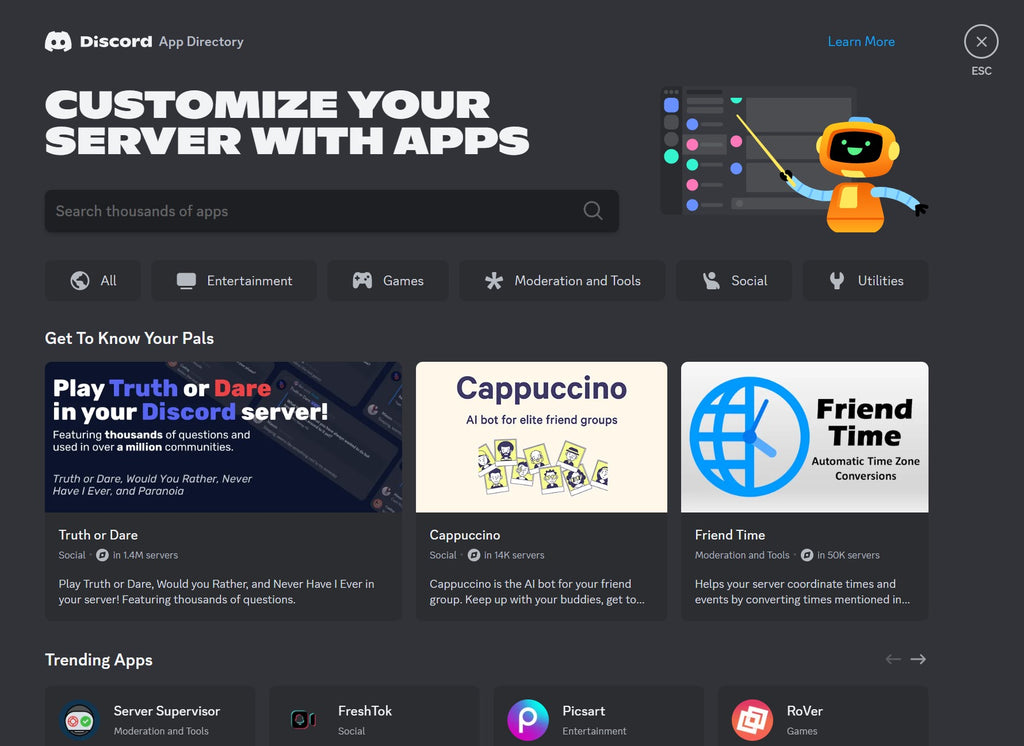
To add a bot/app to your server, go to your server settings, then find "App Directory" on the menu on the left side of the screen. As an alternative, you can use online websites like top.gg to find Discord bots/apps for your server.
The app directory is a convenient place within Discord where you can browse tons of high quality up-to-date bots/apps and add them to your server.
Adding Your First Bot/App
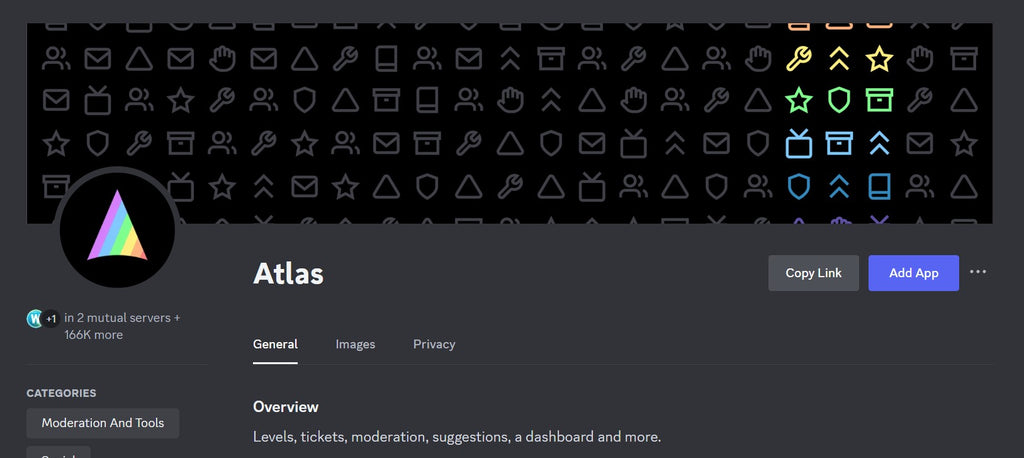
Search for the "Atlas" app. This app is a high quality multipurpose app that handles a variety of basic tasks within your Discord server.
How to Use Bots/Apps
Modern Discord bots/apps are controlled using "slash commands" in the chat. To see available commands, type "/" in the chat and a bunch of options will appear. You can filter the options by bot if you click the bot icon on the left side of this panel.
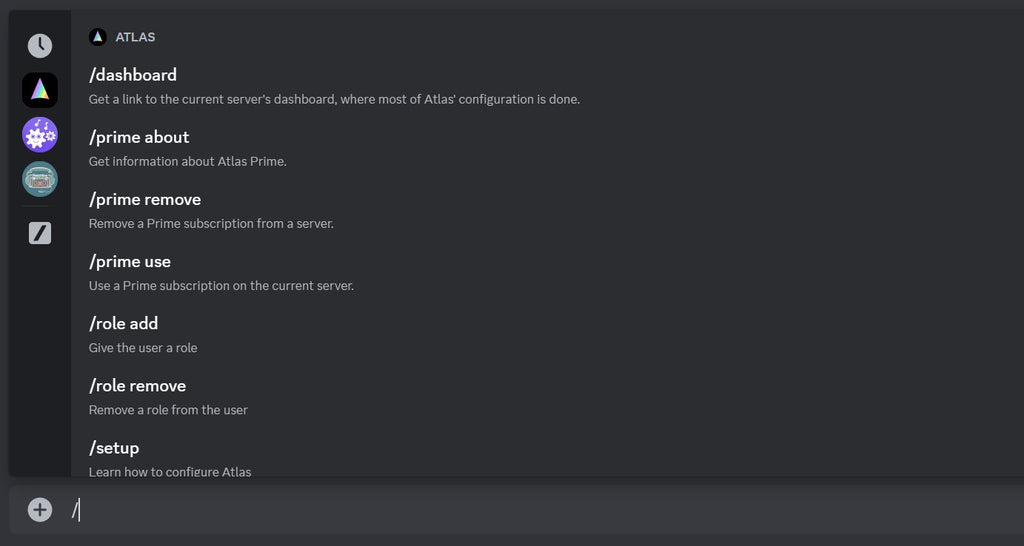
The icons on the left can be clicked to filter slash commands for only that particular bot. Using slash commands, you can easily interact with bots. Some bots (including the Atlas bot) also have web dashboards so you can configure the bot using a nice visual interface.
Bot/App Permissions
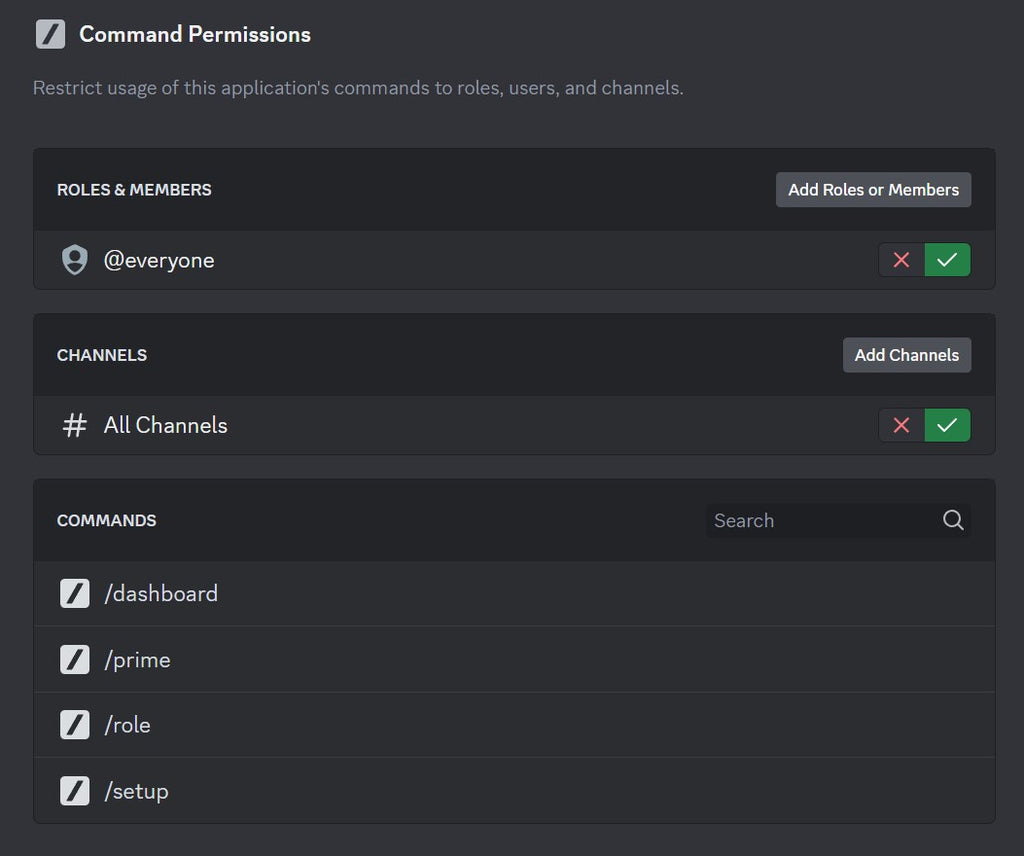
If you want to control which bot commands can be used by which roles, go to "Server Settings", "Integrations", then select "Manage" on the bot you would like to configure.
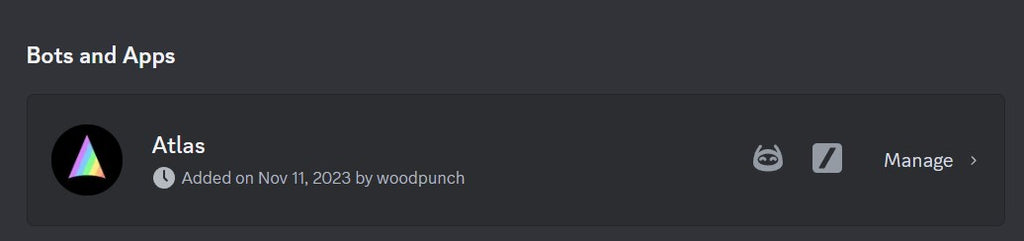
You can fine-tune bot control and command access here.
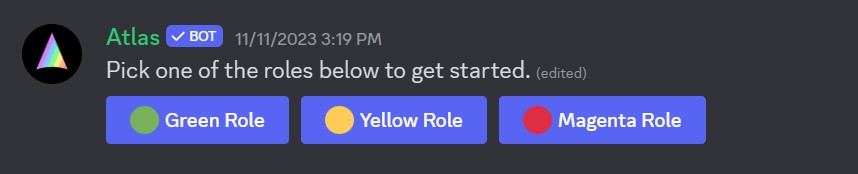
Role Assign Buttons
A common use of apps is for creating role assign buttons in your Discord server. Formerly known as reaction roles, users would click a reaction to a message, then receive a designated role. Modern Discord apps use actual buttons with text. The Atlas app includes this feature.
The Atlas bot has a ton of features useful for almost any server and you can check out its functionality on its documentation page. I recommend adding multiple bots to your server depending on what type of server you plan on creating.
Enabling Community Server
Community servers on Discord are specialized servers that offer a suite of tools for server owners and administrators to facilitate community building, moderation, and server growth. Features like announcement channels, membership screening, and server insights help you build a larger more complex server. Community servers can also be showcased in Discord’s Server Discovery to attract new members.
To enable your server as a community server, go to your server settings, find "Enable Community" on the left side panel and click it.
If you're looking to build a large and feature-filled Discord server, it is recommended that you enable community server.
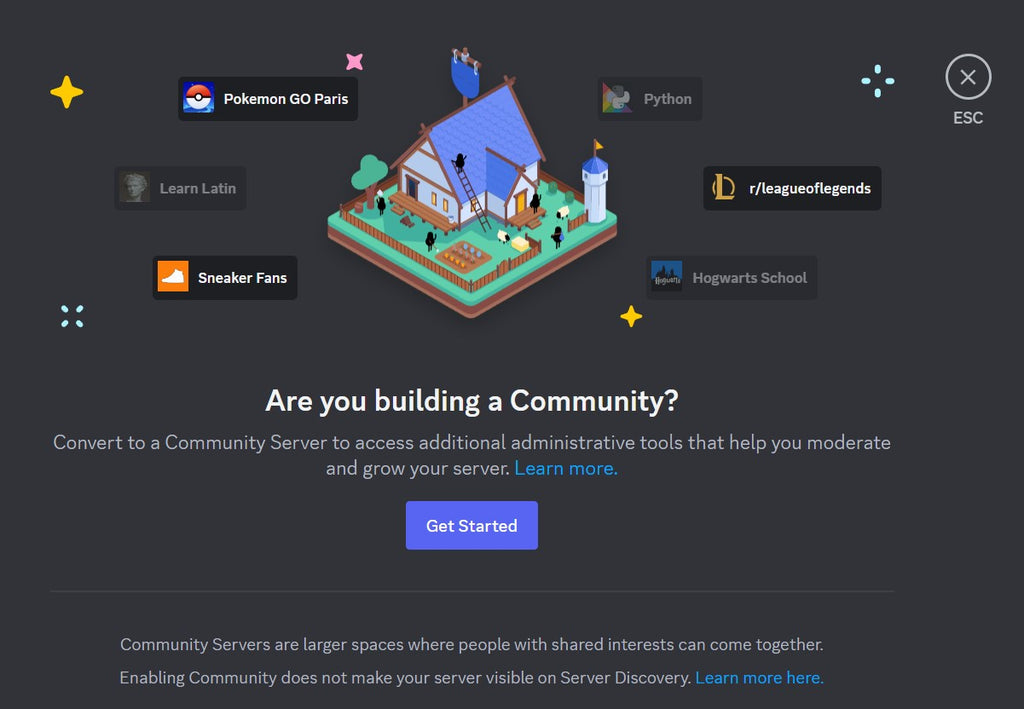
Click "Get Started" and fill out the options. It is recommended to check both boxes for verified email required and scan and delete explicit content. Click "Next" when done.
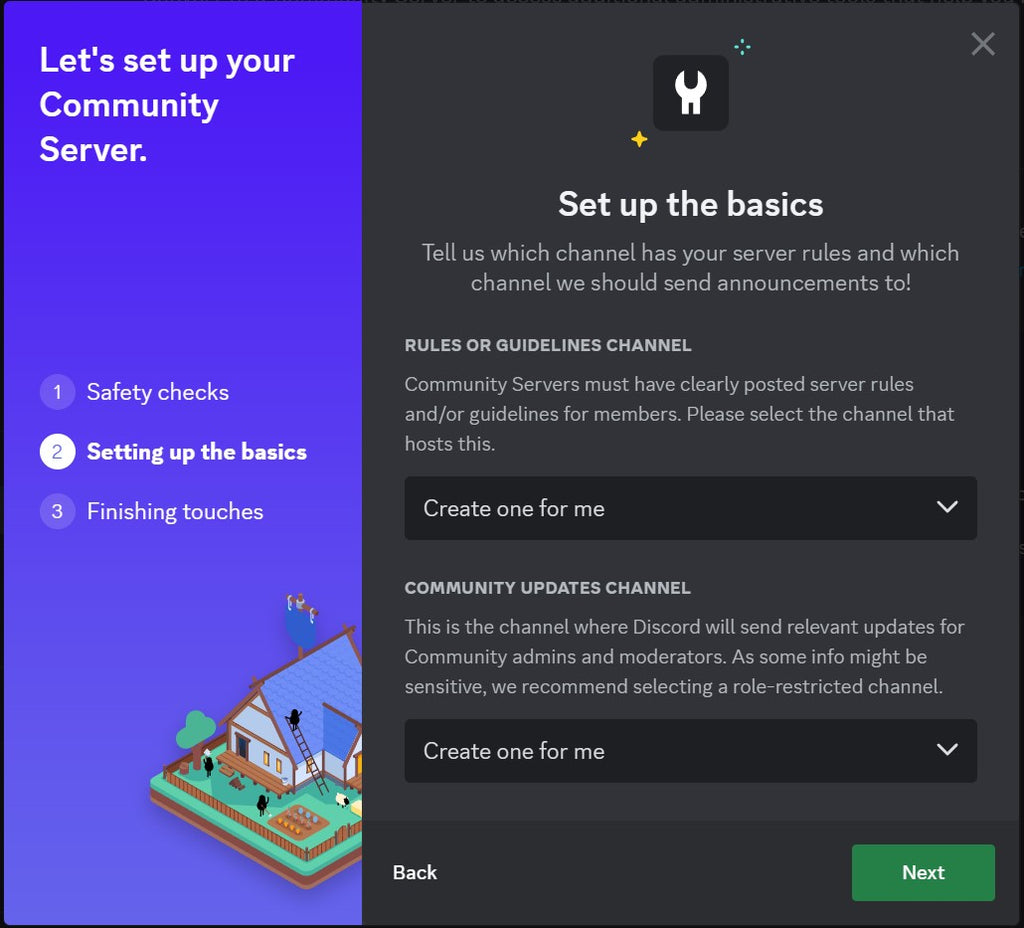
Rules or Guidelines Channel

Community servers must have a clearly marked rules/guidelines channel. If you already have one, select it from the dropdown menu. If not, keep it on Create one for me.
Community Updates Channel
This channel is for server admins and staff. It will keep you up-to-date about new features Discord adds. This should be a private channel.
Finish Setup
On the last page of the setup, click "I agree and understand" and then click the "Finish Setup" button. Your community server is now set up and you'll be taken to a new page where you can configure your community settings.
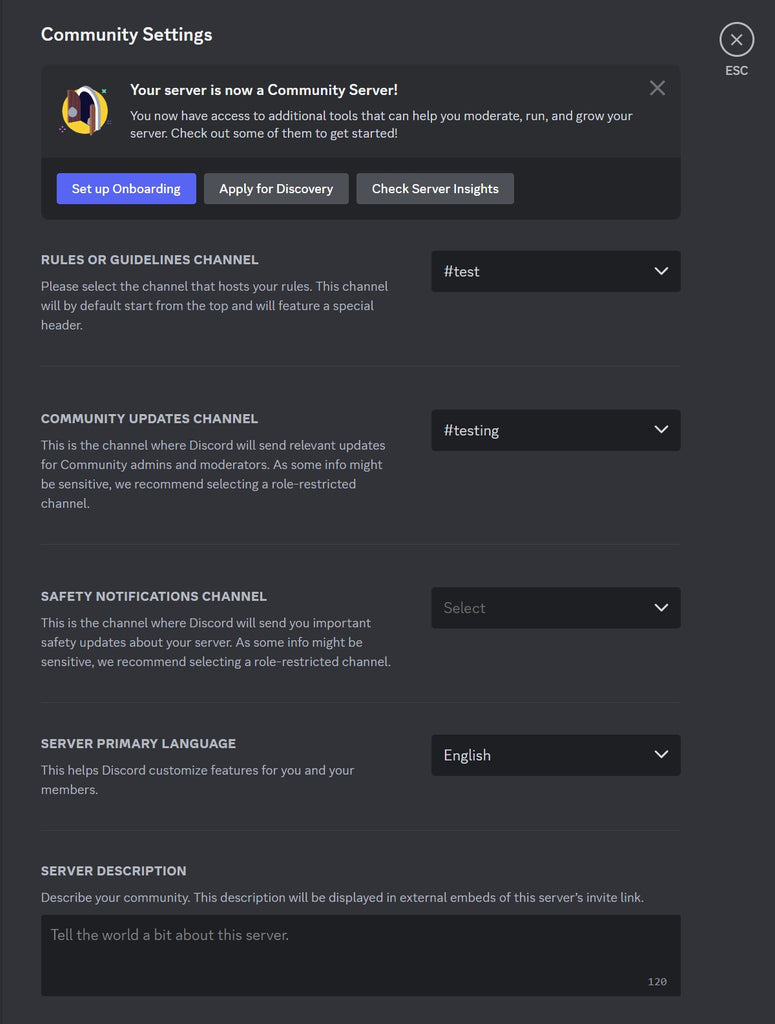
Make sure to add a "Server Description" and enable the safety notifications channel.
More Features of Community Servers
Community servers unlock a bunch of useful advanced features for your Discord server. We'll cover the features it unlocks next. Now that you've enabled community server, you'll see more options when you create a new channel.
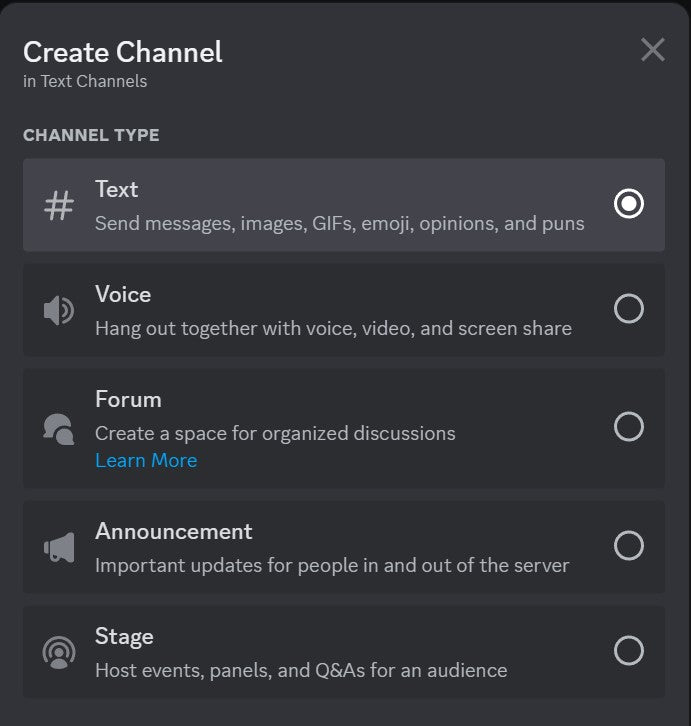
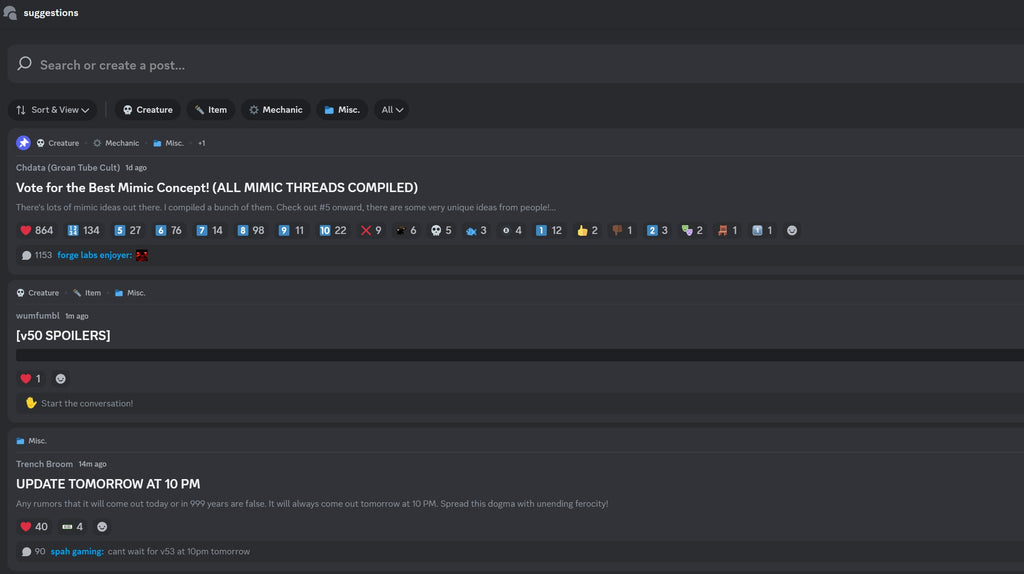
Forum Channel
Forum channels are excellent for structured discussion like the forums typically found online. They are great for archiving and enhancing searchability of related information.
Announcement Channel

Announcement channels in Discord are specialized channels designed to broadcast updates and important information to server members. Unlike regular text channels, they feature a “Follow” button, allowing members to receive published messages in their own servers. Proper permission settings are crucial to ensure only authorized members can send or manage messages in these channels.
Stage Channel
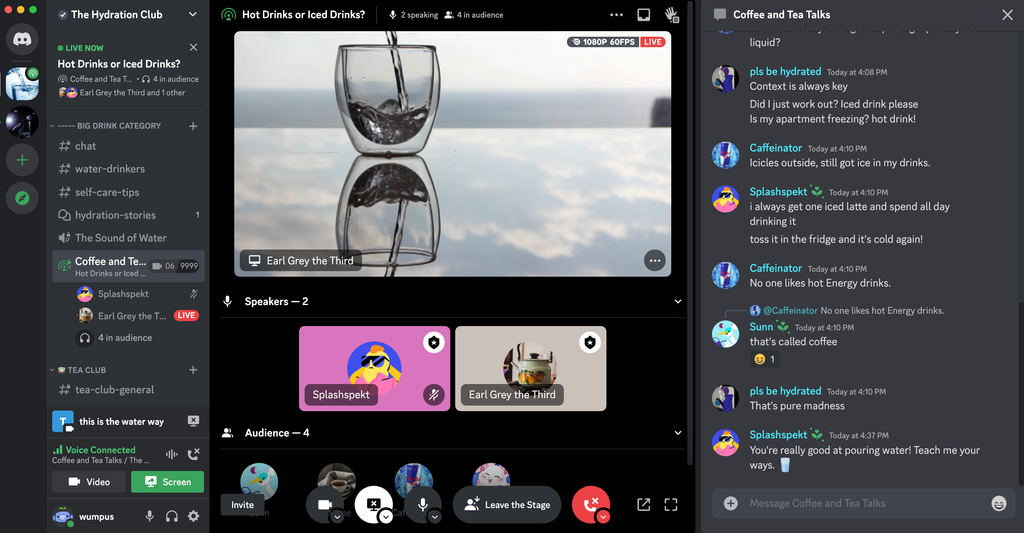
Stage channels in Discord are a specialized type of voice channel designed for events within Community servers. They facilitate structured conversations where select members can speak to an audience, much like a public speaking event or a panel discussion. Stage channels are unique because they allow for large-scale communication without the cacophony of a regular voice channel, as only designated speakers can be heard at any given time. Stage channels are ideal for hosting Q&A sessions, lectures, or community announcements.
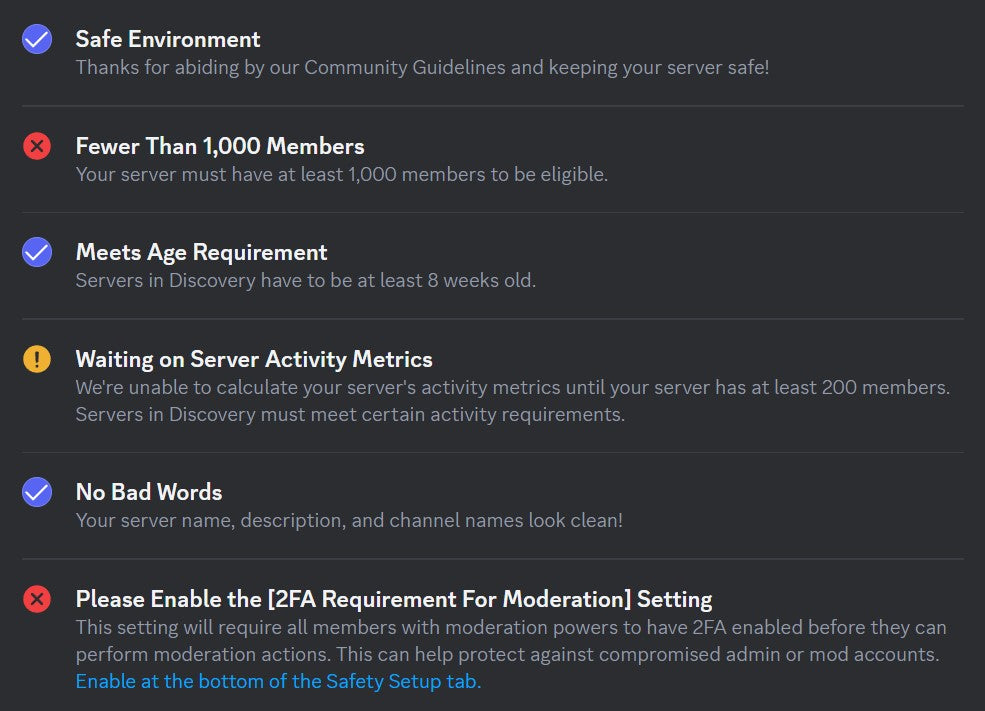
Server Discovery
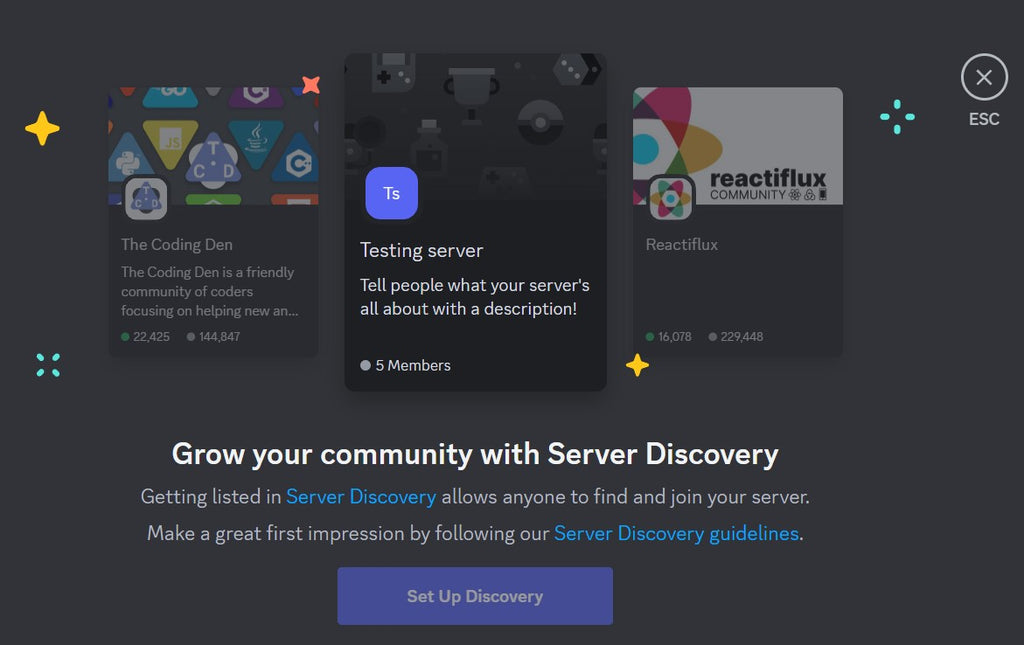
Another advantage of being a community server is accessing server discovery. Your server must meet specific criteria first, however. Discord server discovery is a feature designed to help users find and join new communities on Discord. Accessible via the compass icon on the server list sidebar, it allows browsing servers by categories such as gaming, music, education, or searching directly for servers. Eligible community servers can appear in this list. Here are the requirements for server discovery eligibility:
Onboarding
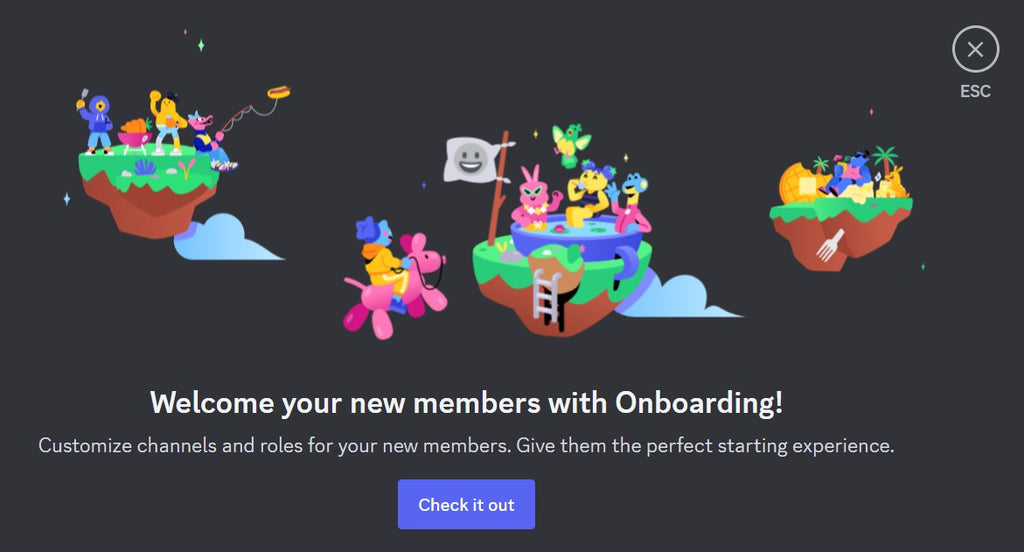
Onboarding is a powerful new feature for community servers. It has multiple functions. First, users can select from multiple choices what their interests are and receive roles based on their selections. They can also select which channels they would like to see. For larger servers, this can help the user focus on what they care about when there is a wide array of topics discussed throughout the server.
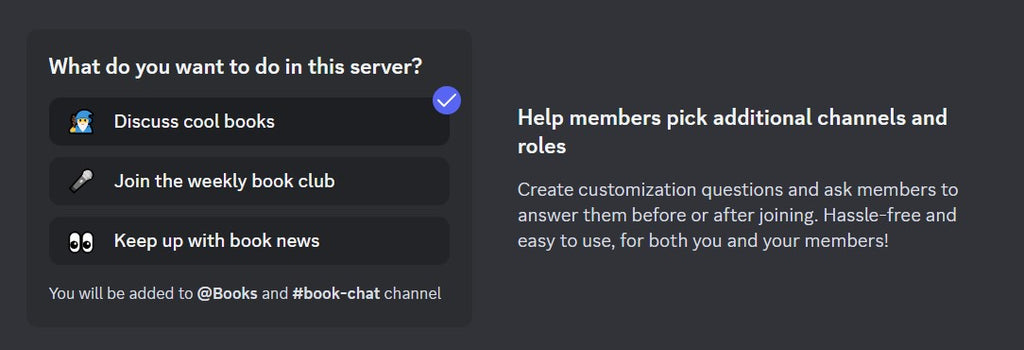
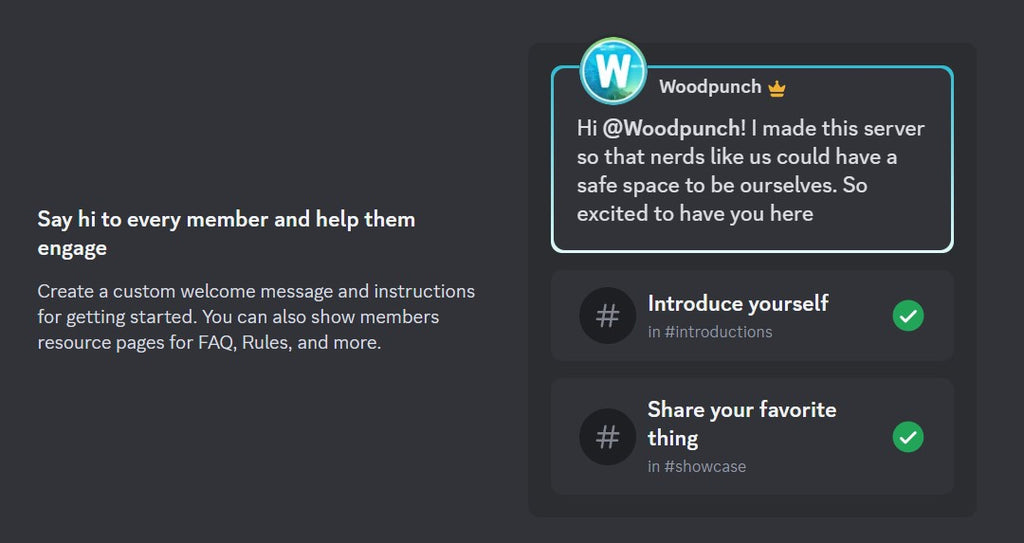
Onboarding also creates a welcome message and some suggestions giving users ideas of what they can do in their server when they first join. To enable onboarding, click your server name, go to "Server Settings" then click "Onboarding".
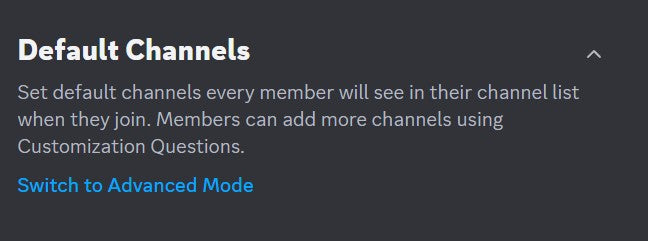
You can also choose the default channels all members have access to in your server.
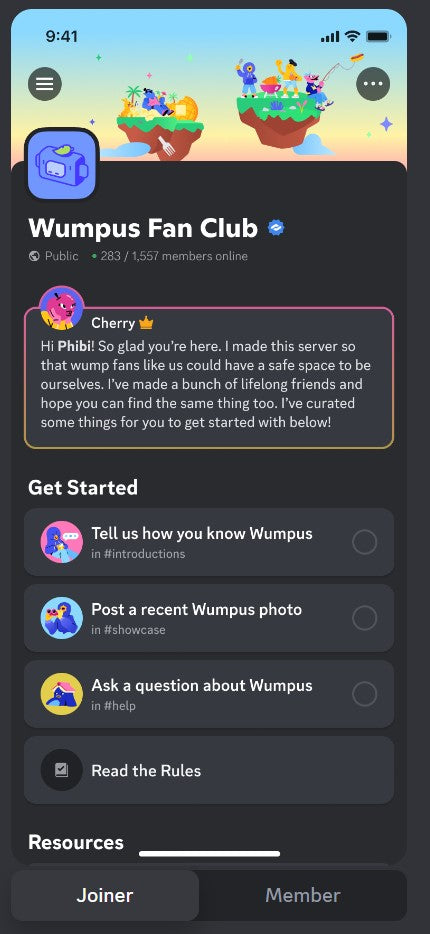
Server Guide
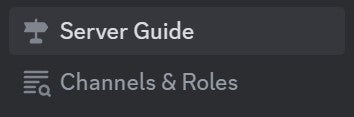
Once you've set up onboarding, you'll see a "Server Guide" appear at the top of your channels list. This is a consolidated informational page for your server. Here's an example of a real "Server Guide" page.
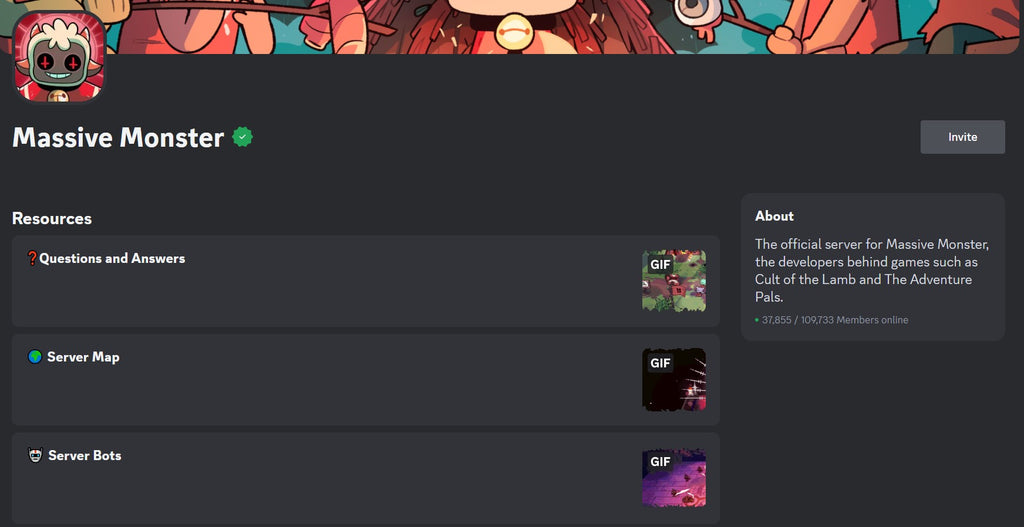
Resource Pages
As a part of the onboarding setup, you can create "Resource Pages". Resource pages are designed for read-only information about your server. Instead of having a rules channel in your channel list, you can turn the rules channel into a resource page. You can see some of the benefits of resource pages in the image below. Resource pages appear in one convenient place in the server guide page as shown in the image above.

Channels & Roles
The "Channels & Roles" page will appear below the server guide after you've setup and enabled onboarding. This allows members to customize their interests and visible channels at any time to tailor the server to fit their specific interests. By selecting their interests, channels can be shown or hidden so only channels they're interested in can be seen.
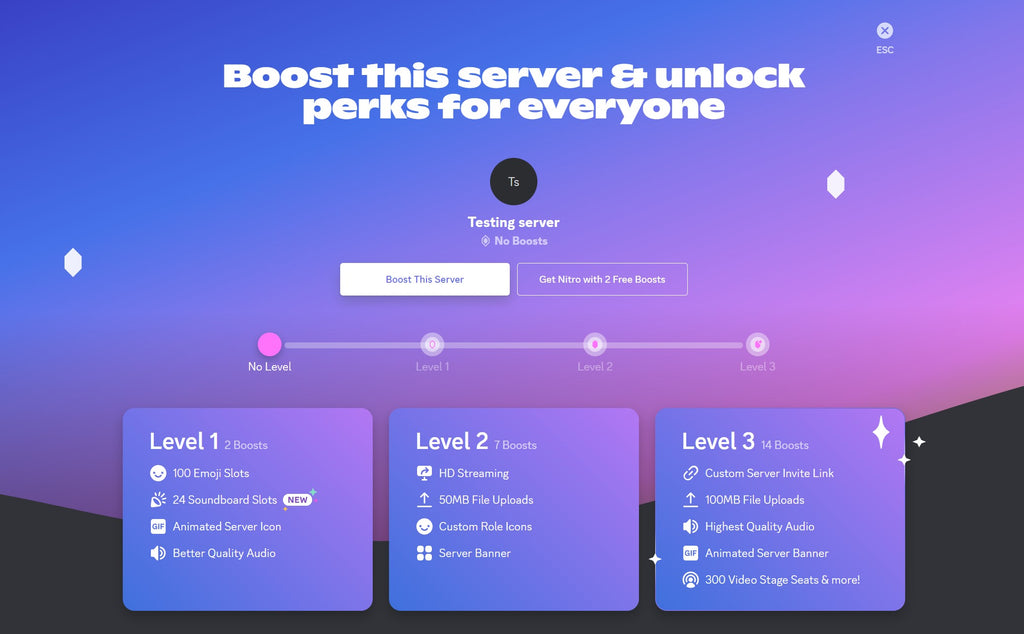
Server Boosting
Once your server is set up and has many members, members can choose to boost your server with by paying a one-time fee, or by using Discord Nitro. Boosting your server can level up your server and unlock exclusive features. The benefits of server boosting are detailed in the image below.
Raid Protection and AutoMod
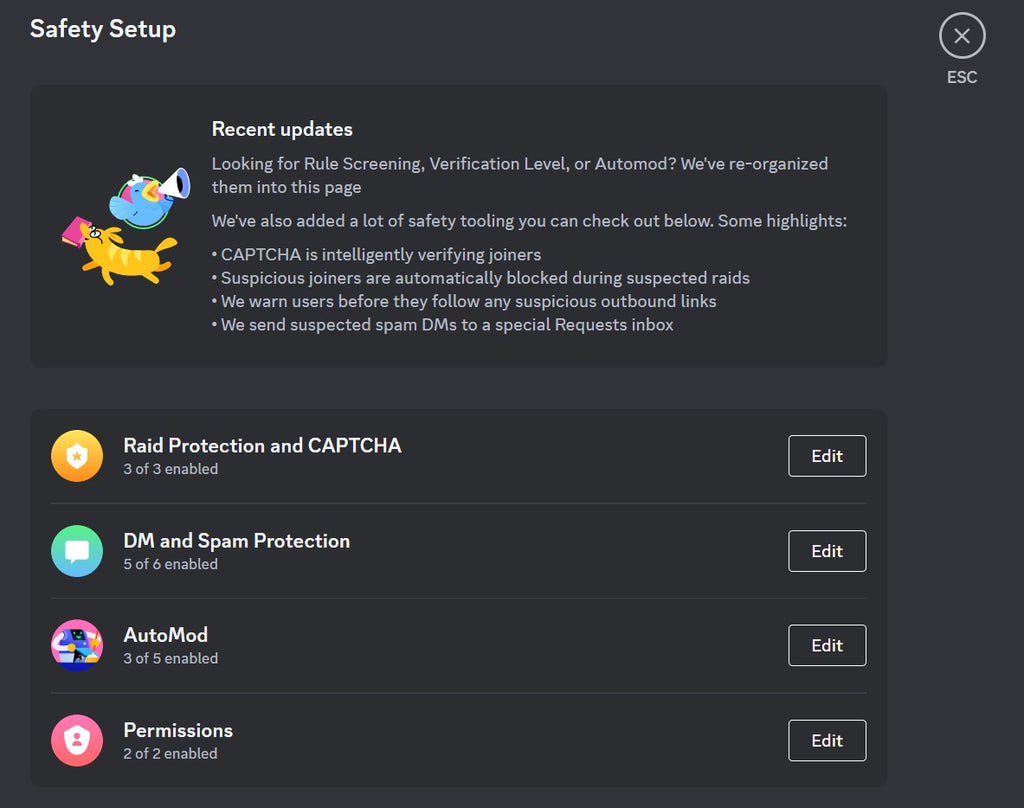
Under "Server Settings", in "Safety Setup", you can find a variety of features to keep your Discord server safe and secure. We recommend looking through these features and enabling most of them. Raid protection is a system that uses machine learning to detect and prevent disruptive mass join attempts, often referred to as “raids,” by requiring CAPTCHA verification for new members during suspicious activity. AutoMod, on the other hand, is an auto-moderation tool that allows server administrators to set up content filters to automatically detect and block undesirable messages. It can be customized with keyword filters to target specific words or phrases, and it includes spam filters.
Partner Program
Crafted for active and engaged communities, the partner program sets apart top servers. As models to Discord, partnered servers inspire both new and experienced users to form their own communities. Being a partnered server allows servers to have custom invite URLs, server banners, and invite splash screens. Partnered servers also receive a special badge on their server to stand out from the crowd on the server discovery page.
Emojis, Stickers, and Soundboard
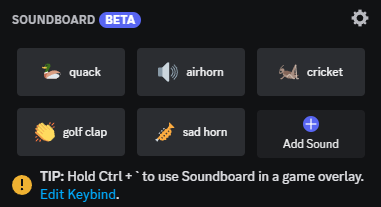
Emojis, Stickers, and Soundboards enhance the interactive experience within Discord servers. You can create custom emojis for your server to express emotions or ideas. Stickers, introduced in June 2021, are larger images that convey messages on their own, without accompanying text. Soundboards are a collection of audio clips that can be played in voice channels to add fun and humor to conversations. Together, these features allow users to communicate in a more fun and expressive way beyond text. These can all be configured in your server settings.
Server Art
There is a variety of art you should have prepared to make your Discord server look great and have a consistent theme and branding. We'll cover all the primary pieces of art here
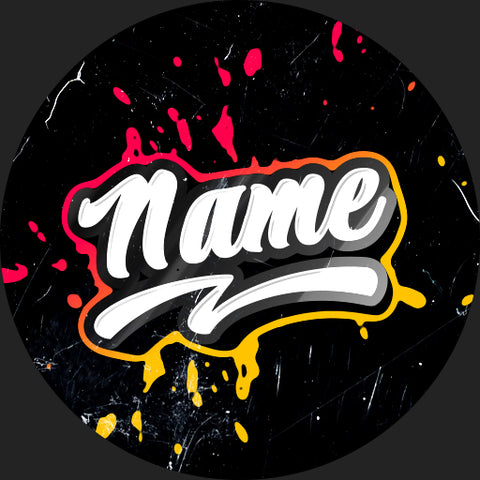
Server Icon
A server icon is an image that represents your server everywhere. Recommended image size is 512x512 pixels or larger, and a PNG, JPG, or animated GIF file type.
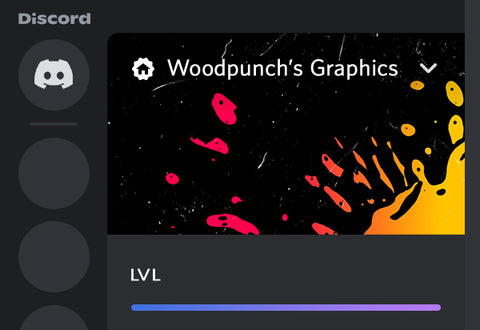
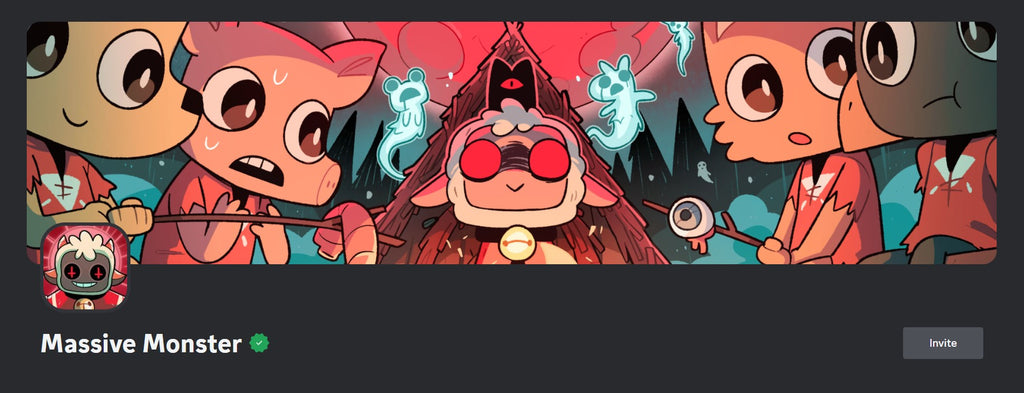
Server Banner
An image that appears at the top of the channel list to add some more flair to your server. It's recommended not to have any text in this image because your server name will be overlaid on top of it. Make sure the image is at least 960x540 pixels, and has a 16:9 aspect ratio.
Server Invite Splash Background
This large image appears in the background when someone clicks an invite link to join your server. The recommended image size is 1920x1080 pixels or larger and a 16:9 image aspect ratio.
Role Icons
These small icons appear next to member names with certain roles. Recommended image size is 64x64 pixels and under 256 KB.
Server Guide Banner
This banner appears on your server guide page as part of the onboarding experience. The server guide banner has a recommended minimum image size of 1920x480 pixels and an aspect ratio of 4:1.
Resource Page Thumbnail
On the server guide page, next to each resource, you can have a custom icon to represent the resource. Minimum image size of 72x72 pixels, 1:1 aspect ratio, and a PNG or JPG image type.

Server Subscriptions
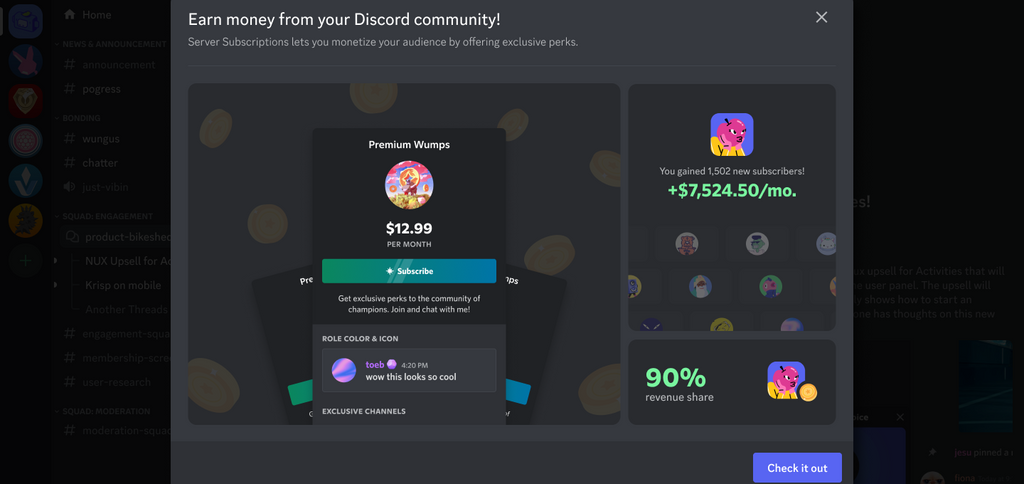
Your server can make money using server subscriptions. A server subscription is a monthly subscription to a server that supports the communities or creators that run the server. Memberships may be divided into tiers with unique pricing and perks. Server admins manage premium memberships, tiers, descriptions, and perks. Your server must meet eligibility requirements to have server subscriptions.
Events
Server events in Discord, known as Scheduled Events, are a feature that allows server owners and members with the right permissions to create, edit, and notify the community about upcoming activities. Events can be scheduled for voice chats, stage channels, or other locations, providing a nice way to organize community gatherings. When an event goes live, members who clicked "Interested" on the event receive a notification. This tool is great for fostering community engagement and interaction within your server.
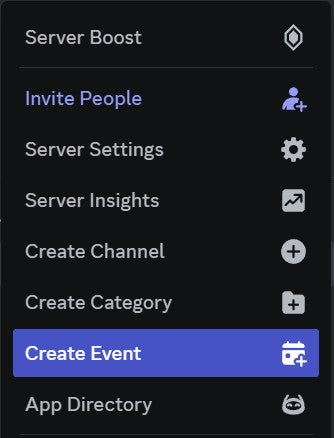
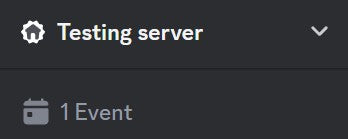
To create an event, click your server name then select "Create Event". Once you create an event, it will show on the top of your channels list.
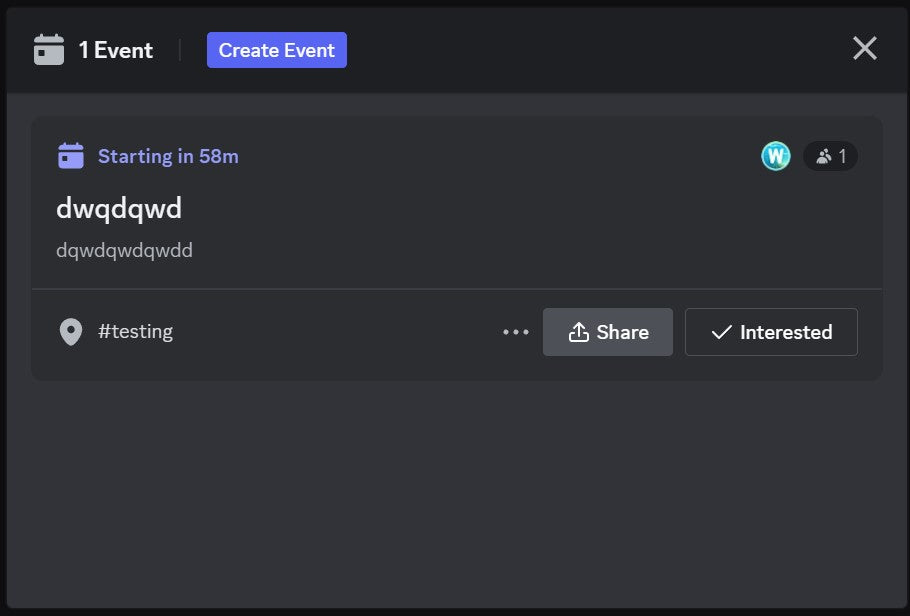
If server members click the "Event" button, they will see a pop up window. From here, they can select "Interested" to be notified when the event happens.
Conclusion

Kudos on reading this entire massive guide for creating a Discord server! Hopefully, you now know how to make an awesome Discord server and master most Discord server features. Best of luck on your server owner adventure!